How to Create an Account
When you first visit the portal, you'll need to create an account.
You have two options for account creation:
- Manually create an account with an email and password.
- Utilize one of the Single Sign On options to create an account.
Before we dive in: Did you know?
Logins are the same across all Finalsite Enrollment Parent Portals
That means, if you've created an account before on another school's portal, you don't need to create another account, rather, you can log in with the same email/password or SSO in without creating a new account.
Manual Account Creation
(Please note: The images below are examples and not representative of the specific school portal you are logging in to.)
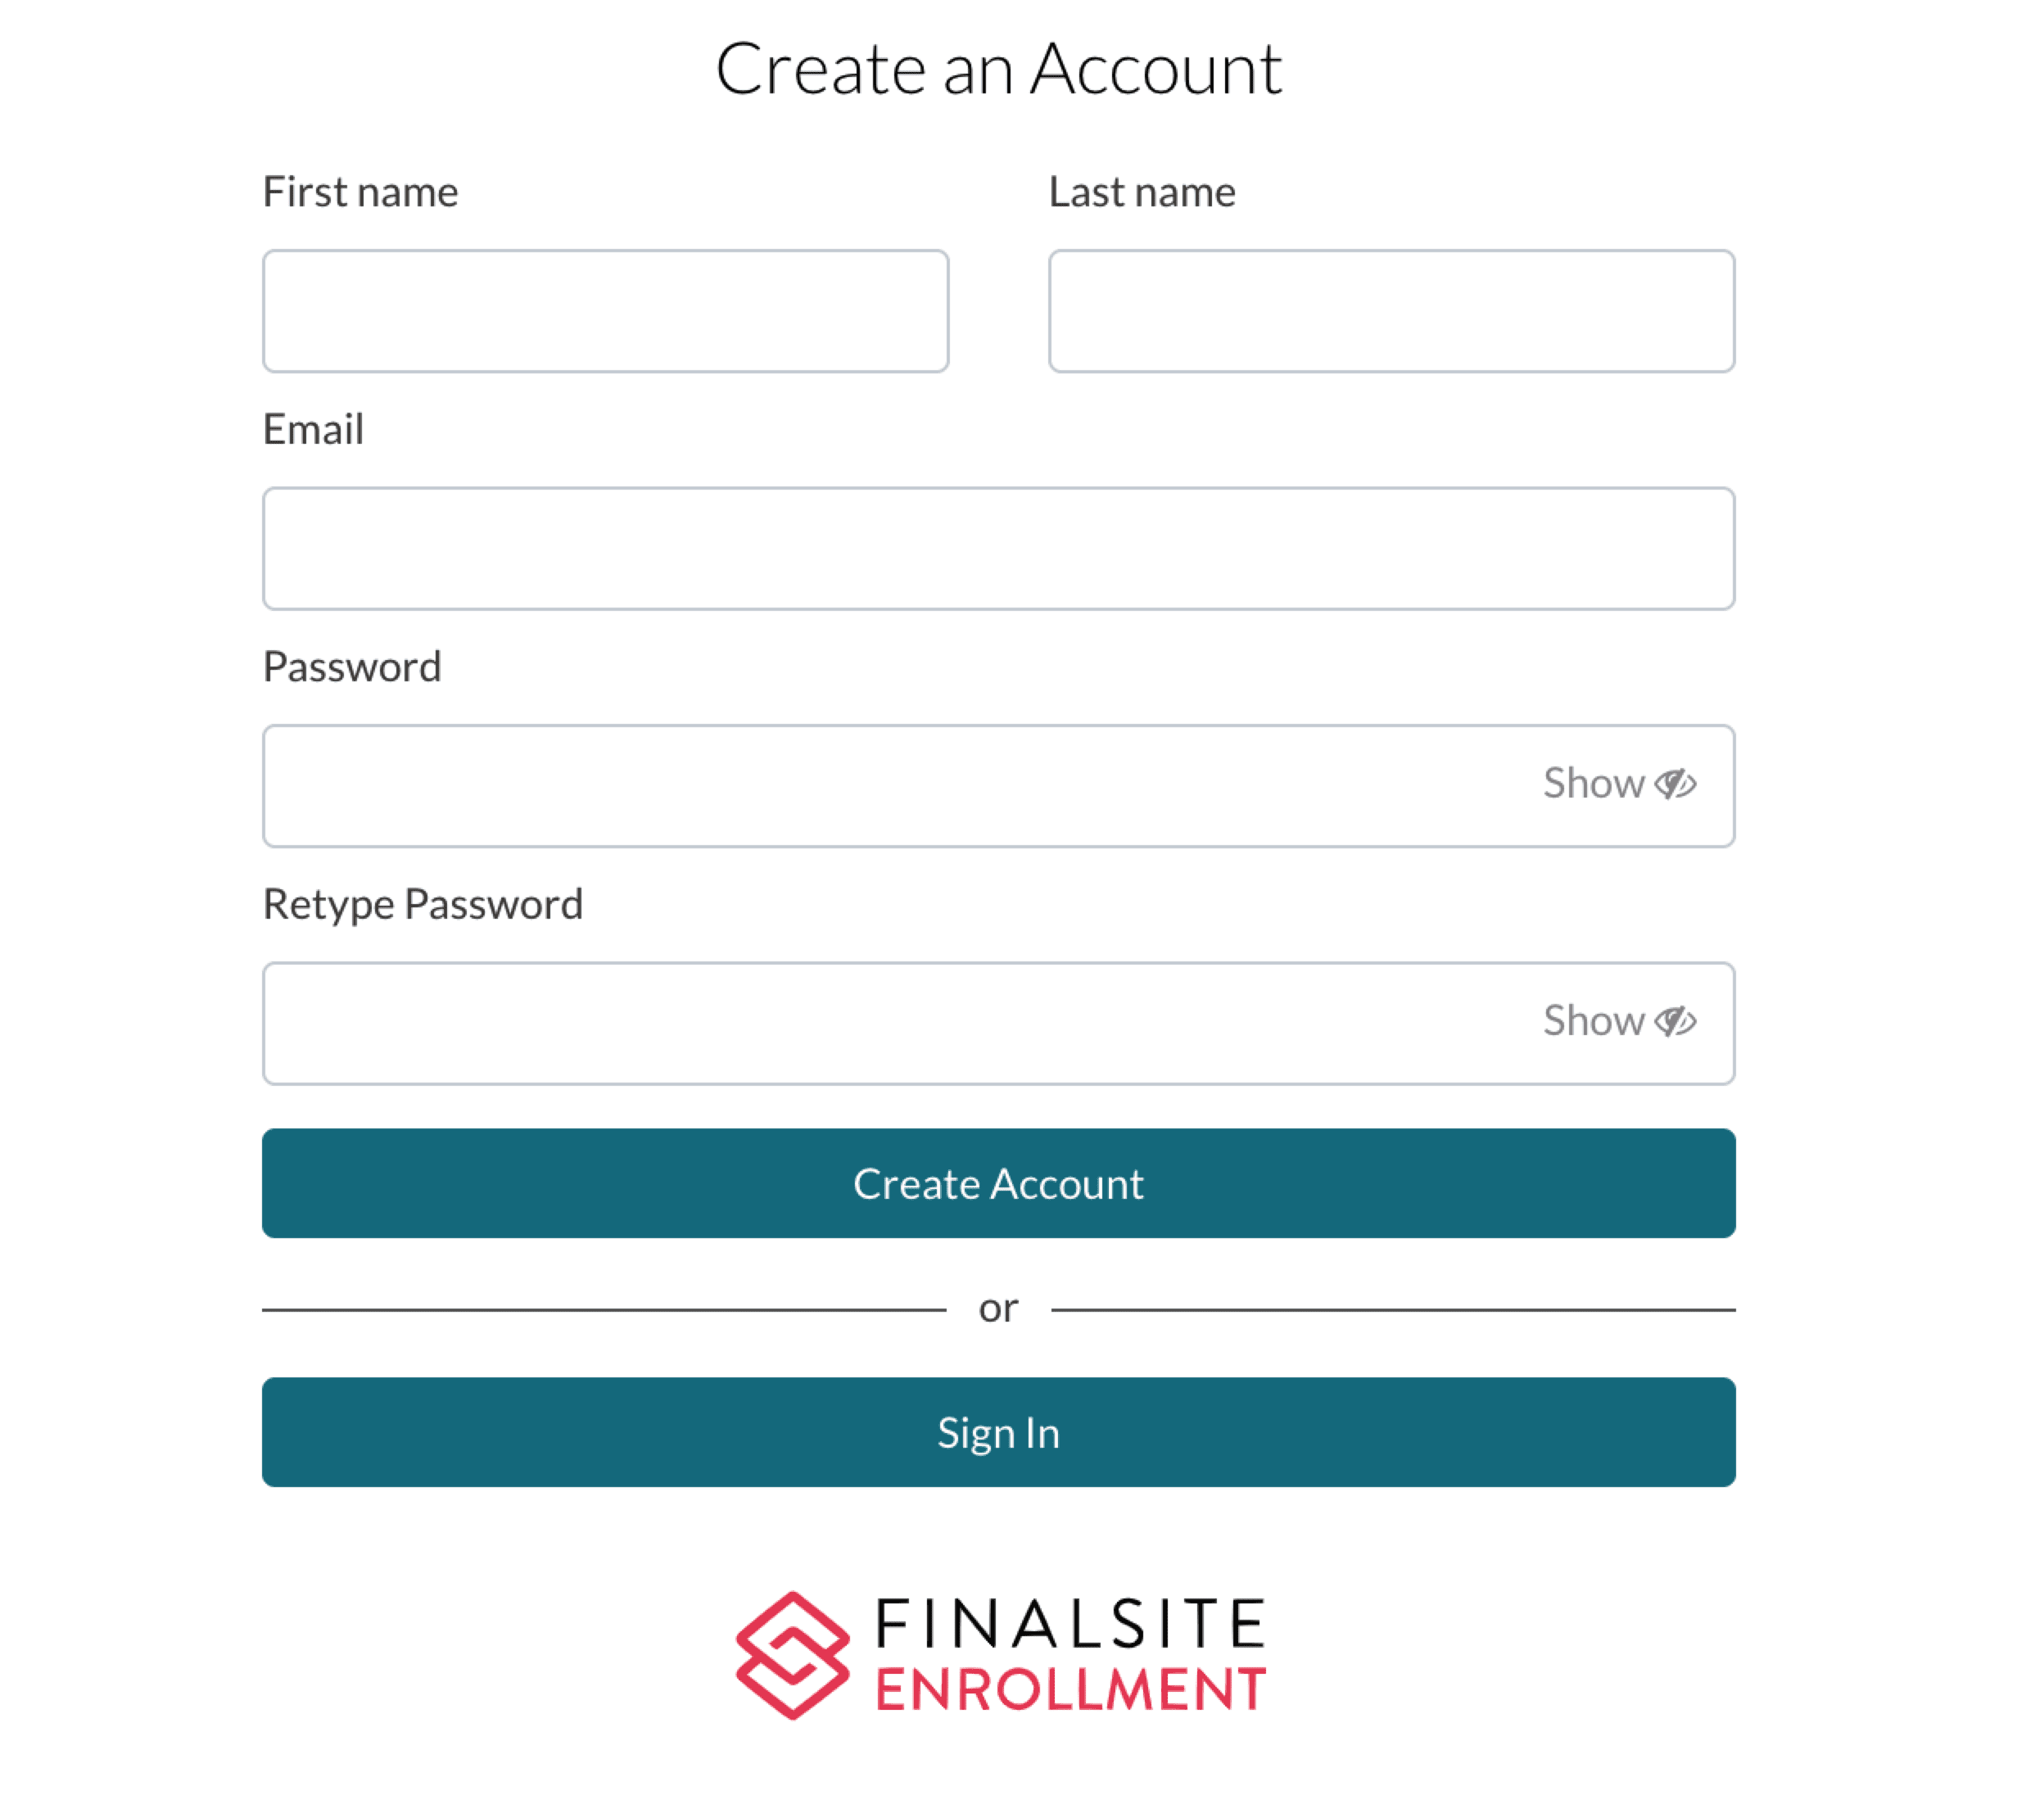
1. Select "Create an Account".
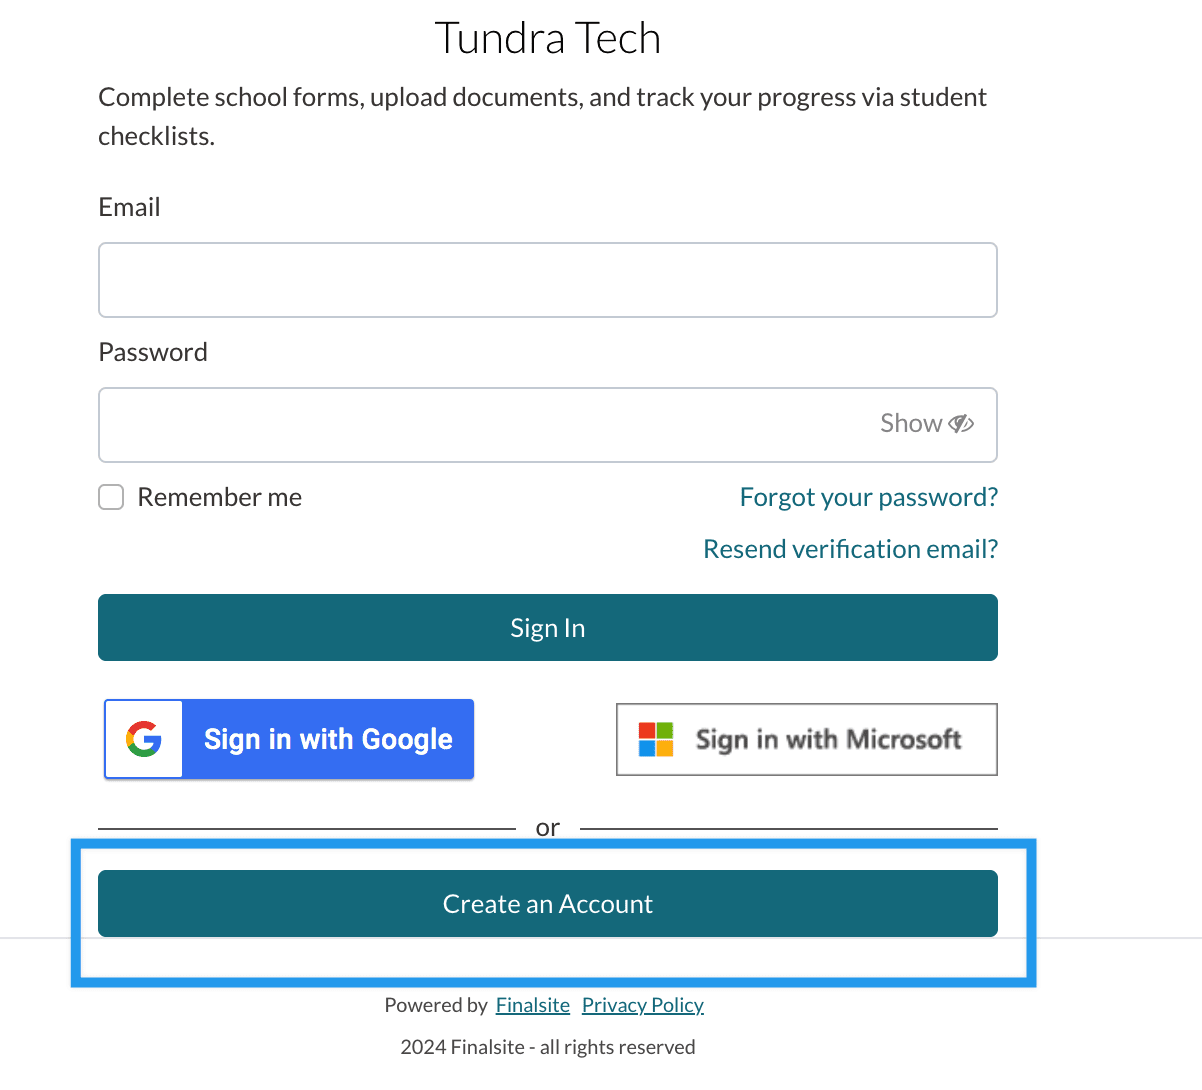
2. Enter your Name, Email, and a Password. Then, select "Create Account".
Once you select Create Account, you'll be brought into the portal where you can complete an application or authenticate to a student so that you can access/contribute to their admissions or enrollment checklist.
Important: After creating your account this way, you will receive an email with a verification link.
-
The email will ask you to click a link to verify your email address.
-
You will get immediate access to the portal but you must verify your email within 24 hours in order to maintain your access.
-
Creating an account with SSO (more info below) doesn't not require email verification.
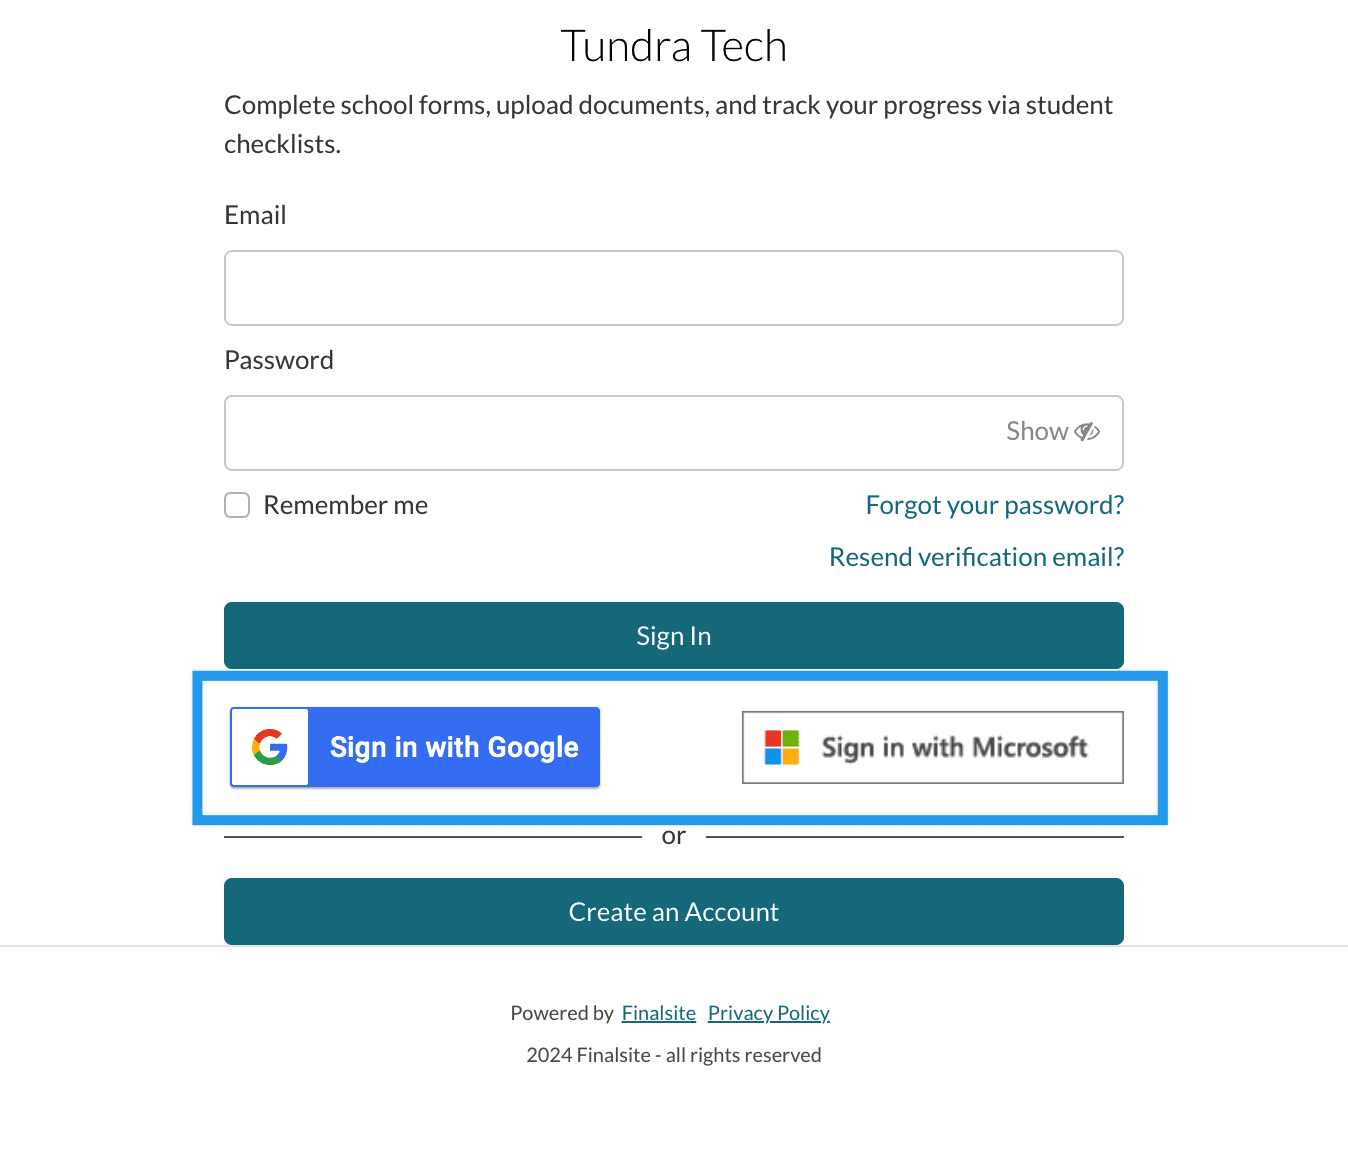
Single Sign-On (SSO)
Things to know:
- When you create an account through SSO, there is no email verification step. In other words, you will not receive an email asking your to verify your email address. It's verified through the SSO process.
- If you start by manually creating an account, you can choose to SSO in when you next log in.
- If you start by creating your account through SSO, you can not use the manual log in option (entering and email and password). You must continue to use SSO.